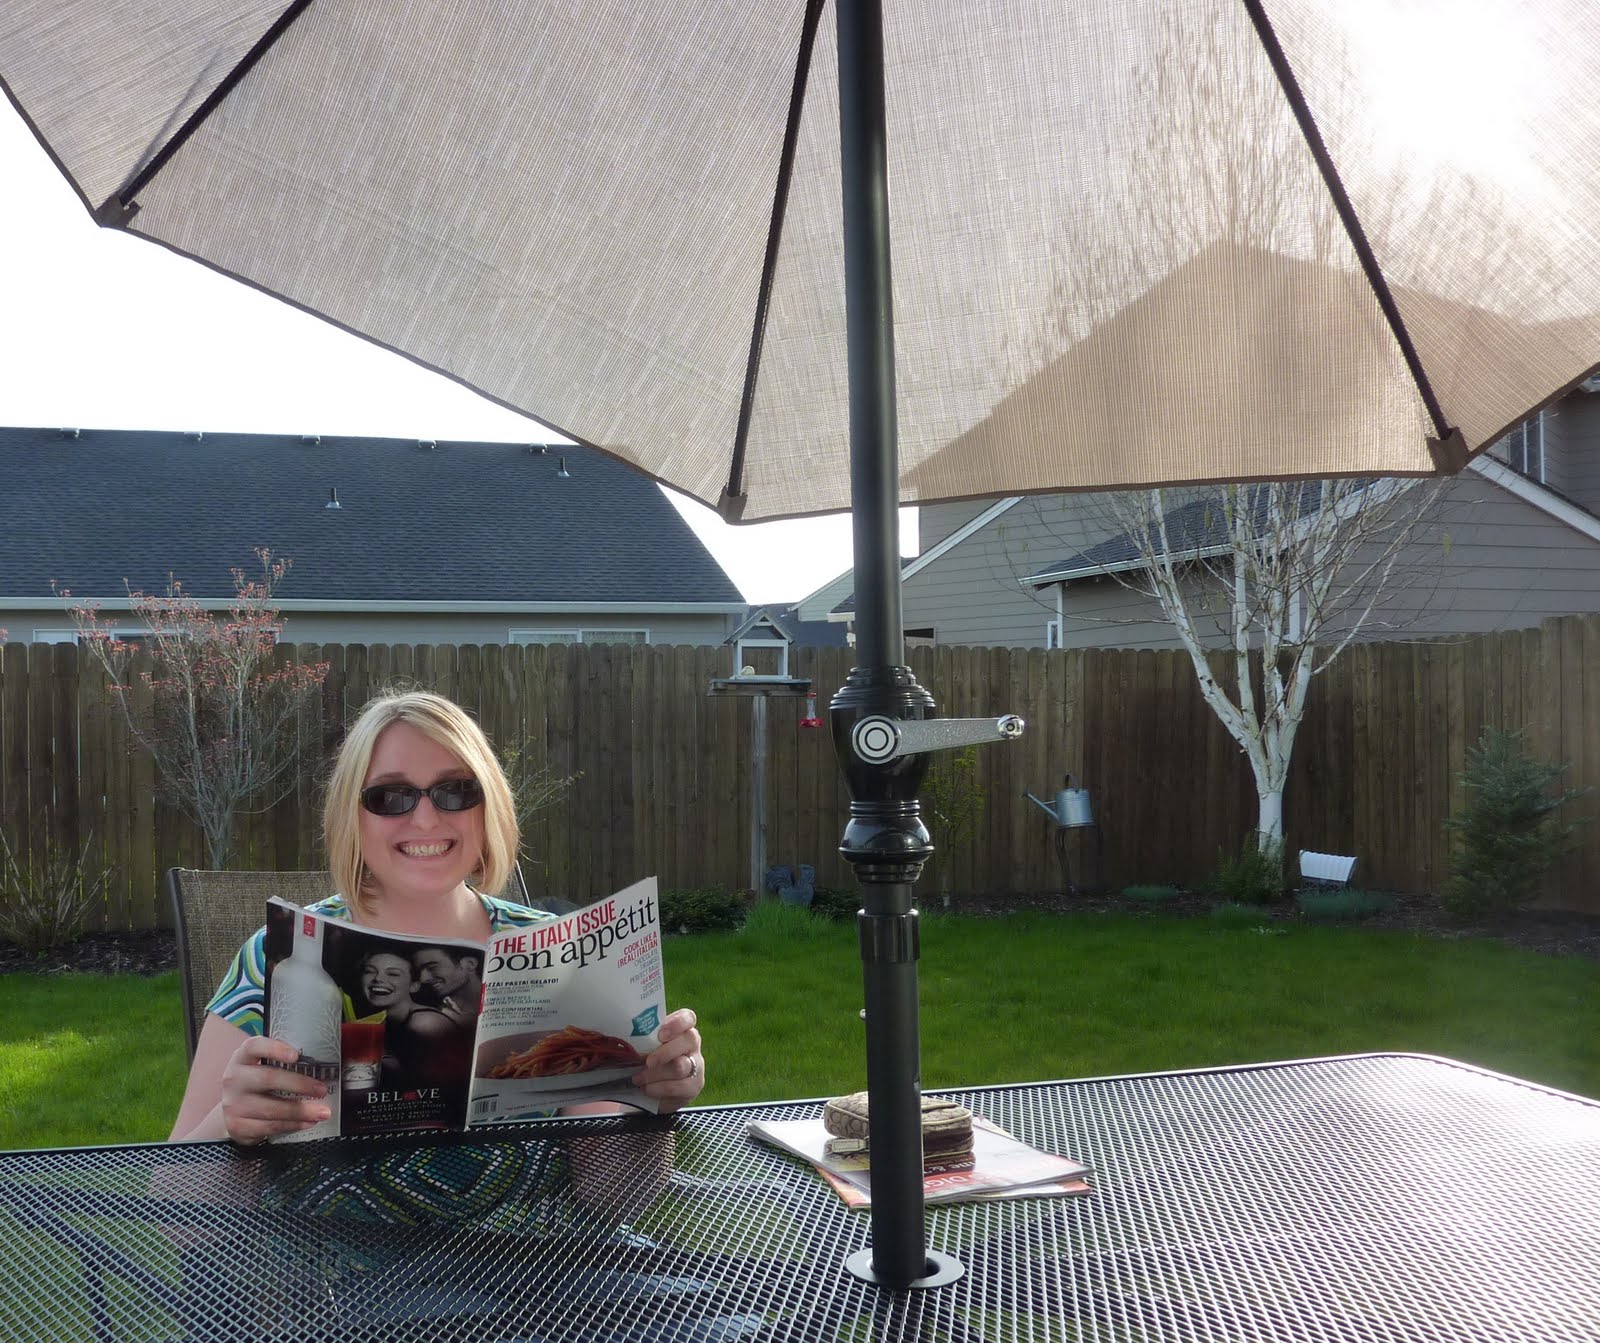
 For me, this meant setting up the backyard patio. Matt surprised me at Target by picking out a nice, big outdoor dining table and umbrella (thank you, Oregon state tax refund!). He set it up and we basked in the tepid glow, and brought the barbecue out from inside the garage to its seasonal position next to the patio. To christen our new dining area, I cooked a grilled dinner that was probably slightly excessive for two people: buffalo-seasoned shrimp and pineapple skewers, baby back ribs, tortellini salad, baked beans and garlic toasts. Hey, that tiny glimmer needs some encouragement. Look what happens when you're out, sunshine! Delicious happiness! Come back, please!
 Hearts rejoyced with the week's weather forecast, which could be heard repeated by everyone you encountered: the valet, the gas station guy, your neighbor, your husband who heard it from you first but then told you again about it like it was new news. Seven days of sunshine, they promised! We decided to take our Monday night dinner plans and summer-ize them: homemade pizza ... on the barbecue! I've always wanted to try wood-firing my pizza on the grill, but there was always a reason not to.
Okay, the only reason was I was scared. Homemade pizza was the first thing I got really, truly burned on in my first kitchen. I just couldn't get it right for the longest time. I remember cutting into one pizza that was completely raw in the middle, and forcing myself to eat it because I refused to accept defeat. Bleck. Now that I've got a pretty good recipe and method down, I hate to mess with a good thing.
I was pushed when Cook's Illustrated arrived with a thin crust pizza recipe they claimed was perfection. They make a good case, what with their long essay on proofing theories and diagrams of yeast. Matt's been on a thin crust kick, and my normal crust is a thicker style. The recipe called for the pizza to cook in a very hot oven, which made it ideal for a faster cook on the barbecue.
 When we placed our experiments on the barbecue, the sky was robin's egg blue with cotton candy clouds. "Are you nervous?" Matt asked. Not really; the dough had felt right in my hands, and had stretched out so thin, it was pretty much guaranteed to cook through. He was, though. He kept checking underneath the crusts to make sure they weren't burning, or exploding, or something.
 "It'll be good!" I promised, and early checks looked good. The crust was browning and the cheese as gooing at a consistent rate, and with a mid-cook turn they were cooking evenly without sticking in the slightest to the baking stones.
Then, a chill shuddered through the air.
A dark, heavy cloud began rushing toward us, completely blocking out the sky. A few raindrops started falling down, sizzling as they hit the 450 degree barbecue top. "Barbecuing in the rain," we laughed, "welcome to Portland."
 The moment turned, and the drops began getting heavier and heavier until they turned into full-blown, unabashed hail balls steaming up the barbecue and making proper pizza turning impossible. It covered the table and chairs, squashing our al fresco dining plans. The steam rising from the barrage of frozen pellets hitting the steel cover made science-minded Matt afraid the whole thing would explode from extreme temperature change. We waited out the storm underneath the house's cover, praying that our innocent pizzas would survive our lack of attendance without charring or further disaster.
 When the cloud had at last properly pummeled Hubbard and moved on toward Canby, we hurried over to the pizzas. They looked lovely at first glance. I did an under-the-crust check by lifting each with the spatula, and was relieved to see that only golden brown, even crispiness was to be found. They look like restaurant wood-fire pizza, Matt noted. A poke of the crusts confirmed that we were all ready.
This extremely crispy, thin crust was a little difficult to slice, but once I chiseled the pieces apart they tasted fantastic. Crunchy and mild, allowing the toppings to take center stage. I used Applegate pepperoni on Matt's pizza (New Seasons deli slices it fresh for you!) and Aidell's Chicken Mango & Jalapeno sausages on mine (along with pineapple and green onion, naturally). Just like those wood-fired pizzas that they make in those gorgeous brick ovens at chicer-than-thou downtown pizza places, the fire grilling imparted a unique smokiness to the crust that just isn't humanly possible in a conventional oven. Apparently, according to Matt, there is now no going back. We have evolved into the next level of deliciousness, and from now on, this is the way to go.
In the Pacific Northwest, there is spring (which is in its nature inevitably depressing and disappointing), and the pre-summer state of mind (which is thrilled to be getting back into shorts and blackberry cobbler time). Seize your state of mind, and make the most of this fickle season, rain or shine or even torrential hail. Your barbecue can handle it.
 Below is a modified version of Cook's recipe. Theirs calls for tons of resting time that I just didn't have, so I didn't do it. The results for me were still great, but if you want to go with their whole "proven professional" thing, seek out the February issue.
Whenever (Not) Wood-Fired Pizza (makes 2)
3 cups bread flour
2 tsp sugar
1/2 tsp instant rise yeast
1 1/2 cups ice water
1 tbsp vegetable oil, plus more for oiling the bowl
1 1/2 tsp kosher salt
1 jar pizza sauce (I like Trader Joe's brand)
4 cups grated cheese (mozzarella is a must, either in its domestic shreddable form or in fresh, sliced versions that have been patted with paper towels to wick up excess moisture. Otherwise it's pretty much a free-for-all: pepper jack, monterey jack, Dubliner, chevre, Pecorino Romano, spoons of mascarpone like my mom loves... hey, it's your damn pizza.)
Your damn toppings (sliced meats, veggies, you know the drill. Just don't do too many or you'll weigh down the pizza)
In a Kitchen Aid mixer with the paddle attached, process flour, sugar and yeast until combined, about 10 seconds. With the machine running, slowly add the water and process until the dough is just combined and no dry flour remains, about 20 seconds. Allow it to rest for 10 minutes.
Add oil and salt to dough and process until dough forms satiny, sticky ball that clears the sides of the bowl, about a minute. Switch in the dough hook and knead for about another minute. Turn off the machine, shape the dough into a ball and lightly coat with oil (about a teaspoon). Roll the ball so it is covered in oil and then place the bowl in the refrigerator for at least 1 hour.
Remove the bowl from the fridge and divide the dough ball in half. Roll out each ball onto a baking stone as thin as you can stretch it without tearing. Don't be afraid to use your hands after you've gotten as good as the rolling pin will take you. Top with sauce, cheese and toppings, then place on a pre-heated barbecue on high (should be between 400 and 450 degrees). Grill with the lid shut for about 8 minutes, checking frequently to ensure even cooking and no other issues. After the 8 minutes, turn each pizza to allow even cooking. Allow pizza to cook an additional 8 minutes, or until the crust is golden and firm to the touch and when lifted, the underneath easily lifts and reveals a golden-brown underbelly. Remove, and cool enough so you don't burn yourself (too badly) before digging in.
Those look fantastic! Will love trying it with just fresh veggies. Or maybe bbq chicken. You've inspired me again!
ReplyDeleteYum, I can't wait to try this!
ReplyDelete