Saturday, February 18, 2012

The Pinterest Dinner Revolution

There are two revolutionary, world-altering developments that have taken place in my kitchen within the last couple of months:

1. We bought a rice cooker.
I had a rice cooker once before; a cheapie I brought with me to my dorm room in college. The rice tasted undercooked and gross, and when I moved into my first apartment it went in the trash. Over Christmas I got a few gifts I already owned from Costco, so I took them back and wandered the giant aisles for a worthy use of my store credit. Matt suggested a rice cooker, a nice digital one--even this upscale model was only $40, much less than most kitchen splurges I've indulged. We made white sticky rice the night we got it and...

OMG.

"Why have we been torturing ourselves all these years?" Matt wanted to know. No, stove-top rice isn't the same as gently steamed, happy grains. I should have known; every serious Asian cook I know has one. But we've branched out into cooking our own grainy blends in it (random rice pilafs): quinoa, vermicelli, couscous, whatever. With some chicken broth and herbs at the end, it's like my Wizard shortcut side dish maker.

2. Pinterest.

I'm sure you've probably heard about this new social media breakthrough. If not, maybe you should log off of Eats of Eden for a minute and go hit it up.

No, please stay here. I love you...

Anyway, Pinterest has been a total revolution in meal inspiration for me. Flipping through cookbooks doesn't work; I need a good chunk of time to get much out of them. Websites like Allrecipes or Epicurious are great if I know what I'm looking for, but just to browse, they're overwhelming. Pinterest displays pictures of food (and of course a million other things) in this clean, aesthetically-pleasing fashion that allows you to just absorb and be naturally drawn to what looks good. I haven't gone and followed every recipe I've tried on Pinterest to the letter, but I have used ideas to create new dishes.

Within the last week, I found myself liking and repinning this image: Thai Peanut Enchiladas. A pretty picture definitely helps (I wish I was a better food photographer! Maybe I should take a class). Thinking about the flavors, though, and I couldn't get it out of my head. Thai peanut! Mmm, savory, with just a hint of sweetness. Enchiladas! Damn I love enchiladas. So cheesy, and everything tastes good in a tortilla (don't believe me? Just ask KOIFusion).

The damn things wouldn't stop rolling around in my head. It was a craving for something I'd never even tasted: but I wanted to. How could this not be good?

I clicked through the picture to the recipe, and found a beautifully written recipe that went a little too deep for what I wanted to do tonight. First off, the peanut sauce was homemade. The batch was big, and I would probably mess up the sauce anyway. I am TERRIBLE at Asian sauces. The filling was very veggie-heavy, when I like a little more creaminess to my enchiladas. I took the basic concept and several of the ingredients, hit up Uwajimaya for a big bag of Japanese-style rice and a can of coconut milk (plus some bao for Matt; he loves the bao), and my dose of youthful nostalgia for my Sailor Moon-worshipping days.

I made a coconut rice in the rice cooker, which is as simple as cooking short-grain rice with one cup of coconut milk, two cups of water and salt. Parsley or cilantro is stirred in at the very end, after the rice has fully cooked. This would be my stand-in for traditional Spanish rice. I also stir-fried onion and bell pepper, melding curry and fajita favorites. The meat filling was similar to what I usually use: rotisserie chicken, sour cream, cumin and shredded cheese, but this time I added a hefty spoonful of Thai chile paste.

I bought a good-quality bottled Thai-style peanut sauce (use one that's similar to a dressing, not the thick Satay-style. And definitely don't use either Taste of Thai or Trader Joe's versions, because I've tried both and they're gross). The brand I used, which worked very well, is called Elki. I know I've seen it at Whole Foods and New Seasons, and I just bought it today at Uwajimaya. The right consistency for this type of dish, and a flavor that isn't bizarre. Seems I'm not the only one who can mess up sauces...

The peanut sauce was used just like you would enchilada sauce. A thin layer at the bottom of the pan, then drizzled over the enchiladas before they bake.

I thought these needed guacamole too. Avocado and peanut sauce? How wouldn't that work perfectly?

"I'm really skeptical about these enchiladas," I kept hearing from the living room. And I guess, who wouldn't be? I bet you're skeptical right now, thinking I'm out of my god-damn mind.

Well dear reader, go get yourself some peanut sauce, because this is the best thing I've made in 2012. Sorry cassoulet and souffle, I could eat these pretty much every day of the year. The peanut sauce is a bit like mole, marrying that sweet and savory line. The guacamole and tortilla makes your mind think Mexican, but then you get that coconut-infused rice and the red pepper, and your mind is officially blown.

"I'm so sorry I doubted you," Matt came around. "You could serve this. You could charge people and serve this. This is amazing."

Well, that would be awesome. But instead, I'll just hand you guys over the recipe and hope you believe me enough to try it. And follow me on Pinterest! Let's be inspired together.

(p.s. sorry for the craptastic picture. They may not be as pretty as the first pic, but I bet I win Chopped Mexican/Thai fusion basket edition).

Thai Peanut Enchiladas

1 batch of coconut rice, as described above
1 bottle good-quality peanut sauce
8 flour tortillas
1 cup of sour cream (plus additional 1/2 cup for topping--feel free to use light, I always do)
1 cup shredded cheese, your choice (I usually do a mix of mozzarella and sharp cheddar)
1 red bell pepper, julienned
1/2 onion, thinly sliced
1 1/2 tsp cumin
1 tbsp red chile paste
Juice of 1/2 lime
2 cups rotisserie chicken (either cooked and shredded, or from a rotisserie chicken from the store)
Vegetable oil
Guacamole for topping

Preheat oven to 375 and coat the bottom of a large Pyrex pan with approximately half of the peanut sauce. There should be a thin, but fully-covered, layer of sauce on the bottom of the pan.

Heat a tablespoon of oil in a pan. Add the onion and pepper and saute until softened, about 7 minutes. Transfer the mix to a plate and reserve. If necessary, add additional tsp oil to the skillet and warm chicken through. Turn off the burner and stir in the sour cream, cumin, lime juice and chile paste.

Assemble enchiladas by first adding approximately 1/3 cup of rice down the middle of the tortilla, then another 1/3 cup of chicken mixture, and top with 1/3 cup of pepper and onions (obviously just eyeball this; you want a decent amount of filling but don't pack it like a burrito). You should exhaust your supplies at eight enchiladas, which is the capacity of a Pyrex pan. Drizzle the enchiladas with remaining peanut sauce and top evenly with cheese. Bake for 18 minutes, then remove from the oven and add dollops of remaining 1/2 cup of sour cream. Bake an additional 5 minutes.


Serve with guacamole.

Tuesday, February 14, 2012

2012 Culinary Adventure February Edition - No Falling!

Happy Valentine's Day, all! I took a stand against VD on a Tuesday (what kind of bs is that?!), and held Valentine's Day Observed on Sunday. The menu read like this:

Crab Cakes with Sriracha Aioli
Herbed Rice Pilaf
Grilled Asparagus with Hollandaise
Chocolate Souffle

Astute Eats of Eden readers will recognize dessert as one of the 12 in 2012 adventures. I've never made a souffle; in fact, I didn't even own a souffle pan. I had to go to Sur La Table to get one; I forgot to register for that when we got married. Got distracted by the fondue pot. And note to anyone playing along at home: they don't sell souffle dishes at Target. Boo.

But see that raspberry-hued sexy digital Cuisinart mixer? That would be my Valentine's Day Observed present! It beat the whipped cream so fast and efficiently I almost overwhipped it into butter. But more on being whipped later.

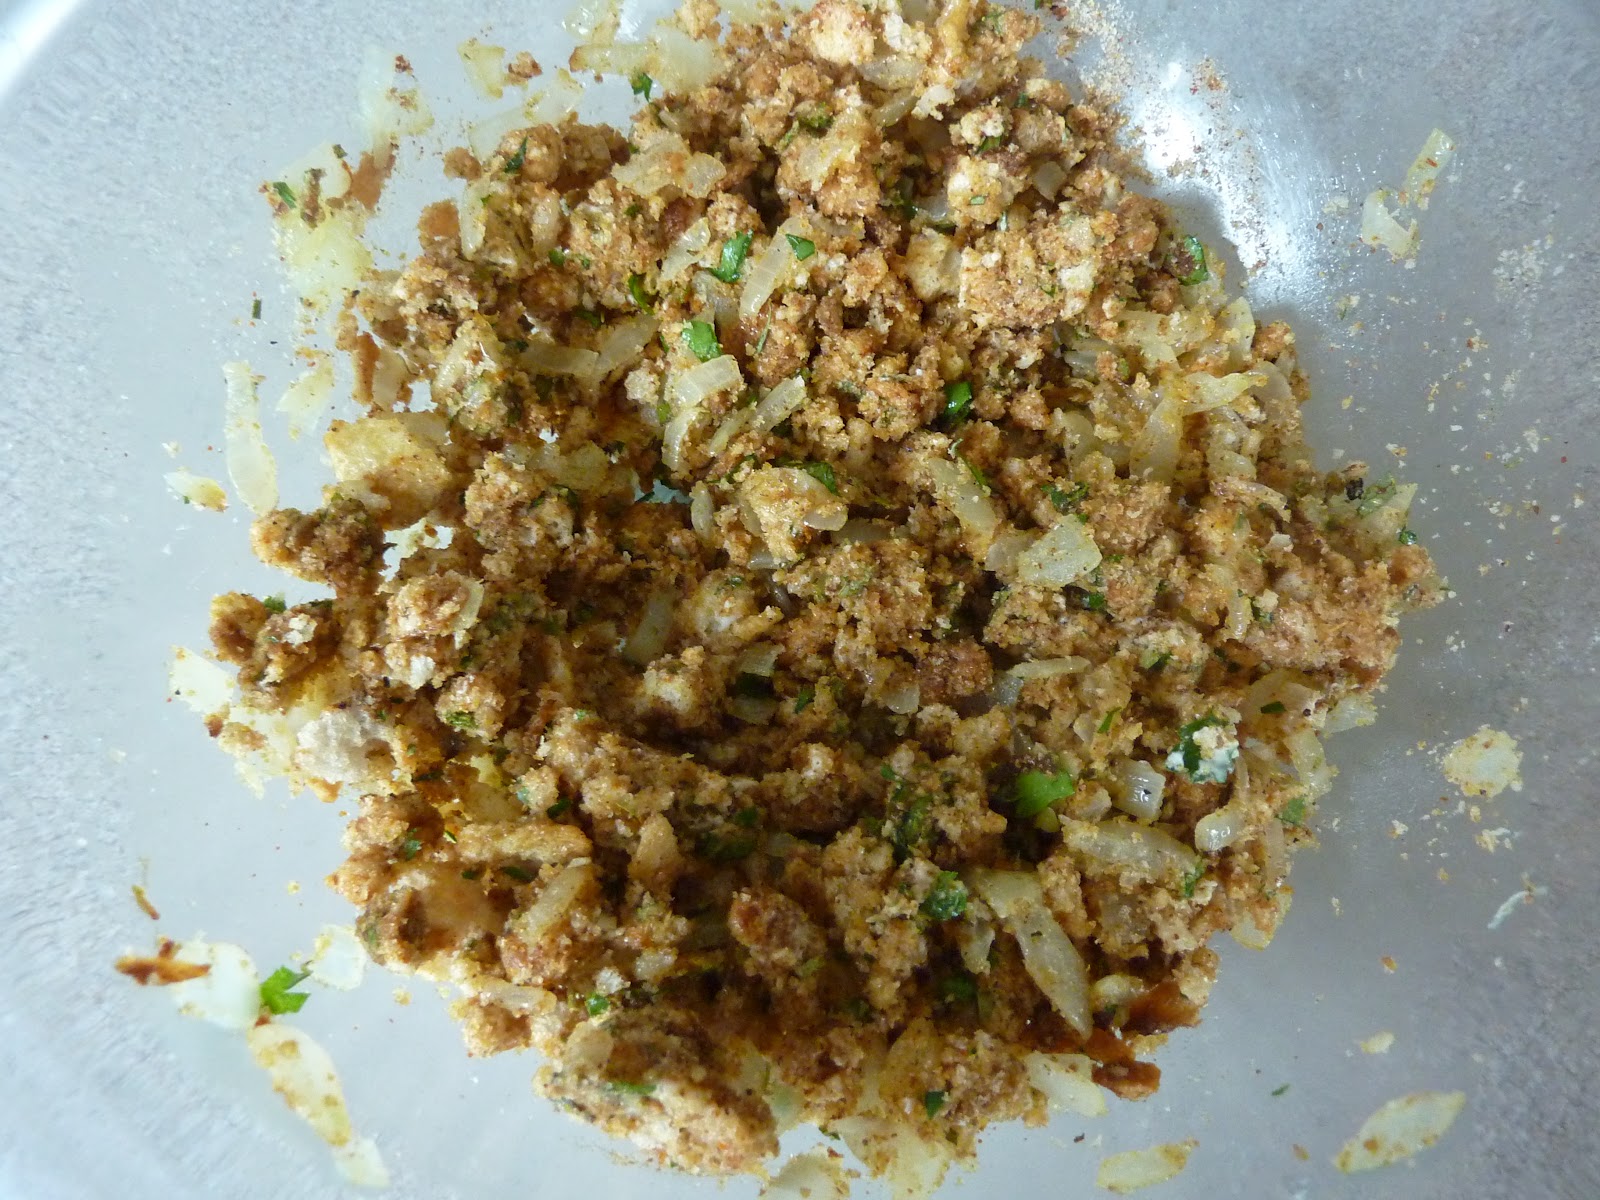
I'd like to talk a smidge about the crab cakes, because they were fantastic. Since we weren't spending an obscene fortune at a sit-down restaurant for Valentine's Day dinner (bad service, sad little portions... BUT THERE'S A BALLOON ON YOUR TABLE! Yay...), I didn't feel bad buying a pound of lump crab or the really good chunk Callebaut chocolate at Whole Foods. I read about ten different recipes, and my end result was a hybrid of several techniques. I didn't want them to be too "busy" (Ina Garten's recipe) or too "bready" (the one in "Pure Foods"), but definitely flavorful with enough binder to keep the cakes together. The end result was a mix of cooked onion, breadcrumbs, Penzey's Cajun spice, mayonnaise, worcheschire and Tabasco. I used a 1/3 cup measuring cup to pack and shape the cakes, then let them take a long chill. Warm cakes disintegrate on the grill. If I were to do them again though, I'd add an egg to the mix. Several of my cakes died in the flipping process (a very thin, wide spatula is a MUST!), which made me crabby. But most kept it pretty much together, so it wasn't a total loss. Sriracha aioli (you could easily do just plain mayonnaise, too) is the perfect moist, spicy accompaniment to these meaty, slightly sweet cakes.

All right, enough expensive protein bragging. On to the adventure! I like to think that souffle is a healthy dessert, since it's primarily egg whites. I am probably delusional, so don't quote me. Especially since I had to melt down that lump of chocolate in my ghetto double-boiler, then mix with 3 egg yolks. My first experience with Callebaut was at the food distributor company, when I worked on making a manual on how to temper (melt) chocolate in the microwave. Yes, you can do it, but you can also make lasagna in the microwave. It doesn't mean you should. Gently melting over simmering water doesn't take that long, and keeps you in control of the chocolate.

The souffle itself is built on a foundation of whipped egg whites. They are whipped on their own until they form soft peaks. Judge how strong your peaks are by turning off the mixer and turning it upside down so the beaters stand up. If the tips immediately droop and seem soft, yep, soft peaks. If they're high and strong, you've got stiff peaks and the whole whipping portion of the recipe is probably about over. Then it's time to fold the chocolate into the egg whites. I hate this part, because it's like peeing in snow. Poor, pure egg whites! At least chocolate is delicious, even though it's the color of poo.

You have to stick it in the oven ASAP at this point, so the bubbles in the egg whites don't get tired and pop. We've all heard the stories of tragic fallen souffles, and I had no reason to think I stood any better chance of a successful souffle than anyone else. But maybe it's an urban myth, how fragile these dishes are. Because the dish took maybe 20 minutes to assemble, and though it wasn't a skyscraper of a puff like some pictures I've seen, it couldn't be described as "fallen." The dessert was deeply chocolatey but light--as Matt described it, "it's like a warm, fluffy brownie." He even went back for seconds, which is freakish because he doesn't even like dessert.

"There's lots of savory souffles too," I said, "cheese souffles..."

"Breakfast souffles?" He asked hopefully.

"Why yes, yes there are."

"We should try that this weekend."

Adventure success--encore requests!

Next month I'll be making my first Moussaka. Opa!! Until then, enjoy your Valentine's Day.

Chocolate Souffle
Originally featured in Gourmet magazine
  • 1/3 cup sugar plus additional for sprinkling
  • 5 oz bittersweet chocolate (not unsweetened), chopped
  • 3 large egg yolks at room temperature

  • 6 large egg whites
  • Accompaniment: lightly sweetened whipped cream
  • Special equipment: a 5 1/2- to 6-cup glass or ceramic soufflé dish
  • 1/3 cup sugar plus additional for sprinkling
  • 5 oz bittersweet chocolate (not unsweetened), chopped
  • 3 large egg yolks at room temperature

  • 6 large egg whites
  • Accompaniment: lightly sweetened whipped cream
  • Special equipment: a 5 1/2- to 6-cup glass or ceramic soufflé dish

Preheat oven to 375°F. Generously butter soufflé dish and sprinkle with sugar, knocking out excess.
Melt chocolate in a metal bowl set over a saucepan of barely simmering water, stirring occasionally until smooth. Remove bowl from heat and stir in yolks (mixture will stiffen).
Beat whites with a pinch of salt in a large bowl with an electric mixer at medium speed until they just hold soft peaks. Add 1/3 cup sugar, a little at a time, continuing to beat at medium speed, then beat at high speed until whites just hold stiff peaks. Stir about 1 cup whites into chocolate mixture to lighten, then add mixture to remaining whites, folding gently but thoroughly.
Spoon into soufflé dish and run the end of your thumb around inside edge of soufflé dish (this will help soufflé rise evenly). Bake in middle of oven until puffed and crusted on top but still jiggly in center, 24 to 26 minutes. Serve immediately.

Sunday, January 29, 2012

Buns in the Oven

Even though I like to cook on the weekends, it doesn't always mean I want to make something complicated. Sometimes I just want to do something fun, something I don't have time to do the other 5 days of the week.

Also, I was working on the end piece of my thesis and having a terrible case of writer's block. I needed a distraction.

My mom has raved about the King Arthur Flour hamburger recipe for a long time (she got to visit the flour... uh, floury? in Vermont last fall and she's converted me to their fantastic baking recipe collection), and when I was trying to figure out something to cook, homemade hamburgers had instant appeal. Since summer is a distant memory I'm not sure will ever come back at this point, I haven't been burnt out on burgers. More like a little sick of heavy casseroles and braises. I know, I know! In six months I'll be yearning for them again. But I am a fickle creature.

Anyway, these weren't going to be your basic come home from the office, start the grill and throw a few Bocas on the grates. I was going to make some SERIOUS hamburgerage. Home-baked buns, home-canned pickles, home-caramelized-onions and home-pressed patties... but I didn't go down to the coast and take part in the cheddaring process with Tillamook Cheese. My deep un-hardcore apologies there.

The recipe for buns is so easy, it's a little unsettling. You put all the dough ingredients (except for the melted butter brushed on during the baking process to create a perfect golden sheen) in your Kitchen Aid bowl, set the dough hook and let it go for a few minutes. Go check your Pinterest page or something. Then it's just a matter of time and patience. I let the initial mix rise for probably 3 hours (I went to test-drive a Rav 4 and have this amazing Pear Cosmo at Oswego Grill with my friend Lisa), but the recipe calls for 2. Either way, it takes some time. Afterward they're formed by hand into little buns and allowed to fluff up a bit for another hour. Before they went in the oven I topped them with King Arthur Flour's Everything Bread and Bagel Topping, which is a hodgepodge of sesame seeds, poppy seeds, and the very necessary dried onions. Essential? No. Awesome? Absolutely.

I caramelized the onion using a trick I read in Martha Stewart Food a while ago. Lots of butter, some vegetable oil, salt and pepper... and a pinch of sugar. It helps to draw out some of the natural sweetness of the onions and caramelize in the pan. As soon as the sliced onions hit the fat-laden pan, the smell brought me back to the Puyallup Fair. I haven't done the Puyallup in about a decade, but we used to go sometimes when I was in elementary school and they handed out free tickets to us (mostly in a cruel ploy to drive our parents into shelling out tons of money on ride tickets, cotton candy and other garbage non-associated with that initial getting through the door). There was a stand called Earthquake's that made simple, gigantic burgers made to induce stomach-grumblings from its delicious smell stretching all the way to Tacoma. Half-pound patties, American cheese, pickles, and a mountain of soft fried onions. I don't know if I ever got one of my very own; maybe I had some of Dad's or something. Even reminiscing on those few illicit bites probably adds a couple ounces to my frame.

The buns rose up just as I hoped they would (an outcome not always guaranteed in baking), and offered a crunch and buttery exterior coupled with a dense, chewy center. Perfect to soak up all the buttery, meaty juices from the burger patties and onions. Super goddamn good.

According to my Googling, Earthquake's brick and mortar location on South Hill in Puyallup has ceased to be. You have to get into that overpriced fair to get one, and I doubt they're handing out free tickets to the kiddlins anymore. Luckily you can recreate delicious dream burgers at home, even in the wintertime. And when you have a few extra hours on a Saturday to let yeast work its magic, you're in even better shape.


Beautiful Burger Buns (from King Arthur Flour)

  • 3/4 to 1 cup lukewarm water
  • 2 tablespoons butter
  • 1 large egg
  • 3 1/2 cups King Arthur Unbleached All-Purpose Flour
  • 1/4 cup sugar
  • 1 1/4 teaspoons salt
  • 1 tablespoon instant yeast
  • *For best results (a smooth, slightly soft dough), use the smaller amount of water in summer (or in a humid environment), the greater amount in winter (or in a dry climate); and something in between the rest of the time.

Topping

  • 3 tablespoons melted butter

Directions:
1) Mix and knead all of the dough ingredients — by hand, mixer, or bread machine — to make a soft, smooth dough.
2) Cover the dough, and let it rise for 1 to 2 hours, or until it's nearly doubled in bulk.
3) Gently deflate the dough, and divide it into 8 pieces. Shape each piece into a round ball; flatten to about 3" across. Place the buns on a lightly greased or parchment-lined baking sheet, cover, and let rise for about an hour, until noticeably puffy.
4) Brush the buns with about half of the melted butter.
5) Bake the buns in a preheated 375°F oven for 15 to 18 minutes, until golden. Remove them from the oven, and brush with the remaining melted butter. This will give the buns a satiny, buttery crust.
6) Cool the buns on a rack.
Yield: 8 large buns.

Wednesday, January 25, 2012

January's Adventure: Cassoulet

I kicked off my "resolution" to make one new adventurous new recipe per month this year with Cassoulet, a traditional French dish. Though the name suggests casserole, it leans toward the stew end of the spectrum. I thought, with all the haute-y aura surrounding the dish, that it would be extremely complicated and expensive to make. When I started shopping for the ingredients I was reminded of that lovely scene in Ratatouille, where the snooty food critic is propelled back to his childhood by tasting the humble peasant dish--zucchini, eggplant, peppers, love and time. The ingredients cost me very little; bulk beans and small amounts of inexpensive meats made for long braises.
But I got to buy salt pork! I've never seen it in real life, after stocking my virtual wagons full of the stuff for many trips across the Oregon Trail on our family PC. It's pretty much what I thought it would be: pieces of pork studded with salt. Not something you want to cook up for breakfast, but perfect for imparting a bunch of flavor in something that's cooking for 10 hours.

The traditional recipes call for a special French sausage (the Tolouse sausage), but I didn't have the inclination to call all over Portland for rare sausages and the recipe I had (courtesy of Brynne and Dan) substituted Italian sausages. I browned these and the other meats (except for the salt pork; I didn't want the salt to go away) before they cooked to give them a little bit of crust before the long, slow finish.

I was a little sad that the recommended method of cooking was Crock-Potting, which meant no picking out a beautiful baking dish to cook my adventure in. Nope, just Ol' Purple Potty. Everything did look gorgeous, all freshly mixed together. To help make up for the sophisticated deficit, I decided to break out our best china to serve it on. Why wait for company to come over, after all?

The cassoulet was aromatic and fully cooked in about 9 hours, and thickened up as it cooled and overnight. The leftovers were more casserole-y, while the night-of was, as Matt insisted "stew." The flavors were simple: beefy and scented by the wine, with fresh notes from the tomato and herbs lightening the heavy dish up. I served it with crusty French bread and the good butter, the kind that comes wrapped in gold foil in a little basket and tastes more like some fantastic cheese than mere butter. And a Pinot Noir from Anne Amie Vineyards, where we spent our anniversary last year.

What is amazing about a dish like cassoulet is seeing how people elevated simple, limited ingredients into dishes that were so nourishing and elegant. And crowd-pleasing as well: Matt took leftovers for lunch. That is a new culinary adventure success.

Cassoulet (Sent by Brynne and Dan, from Tom of Napa's Crushpad)

Ingredients

1 pound dried great Northern beans, rinsed
2 cups chopped onions
1/4 teaspoon freshly ground black pepper
1 glove garlic, peeled and crushed
1 tablespoon chopped fresh parsley
2 whole cloves
1 bay leaf
1 sprig fresh thyme
1/4 pound salt pork, diced
1/2 pound  boneless lamb, cut into 1-inch cubes
1/2 pound  boneless chicken, cut into 1-inch cubes
1/2 pound hot or mild Italian sausage
2 medium-sized tomatoes, peeled, seeded, and chopped
3 cups beef broth or bouillion
1 cup dry red wine

Directions

This recipe can be done either in a slow cooker (preferred) or in a large pan, such as a Dutch oven, over the stove on low heat. In slow-cooker, combine beans, onions, pepper, garlic and parsley. Wrap cloves, bay leaf and thyme in cheesecloth and tie with kitchen twine to seal.  Add to pot. Add salt pork, lamb, chicken, sausage and tomatoes. Pour beef broth or bouillon and wine over all.

Cover; cook on low 9-10 hours until beans and meat are tender. Remove and discard spice bag. Serve hot.

Monday, January 16, 2012

Inspiration from Anne

Make cupcakes, not war.

I am so sick of the garbage on Food Network. It seems the day of Ina Garten demanding good vanilla on Barefoot Contessa, Alton Brown making dry smokers out of pie tins and dowels on Good Eats, and Mario Batali dishing out heartbreaking pasta to celeb pals on Molto Mario are over. These masters have been unceremoniously usurped by the hack parade of Guy Ferry (yep, that's right, he "Italianized" his name once he started fame whoring), queen of the mediocre Rachael Ray and the unspeakable horror who is Sandra Lee. Even worse are the reality shows like Cupcake Wars and Worst Cooks in America that have nothing to do with becoming a better cook, but rather gawking at the same dregs of humanity every other lowest-common-denominator network is signing on.

It makes me sad, because watching Food Network was a huge part of how I learned to cook. After watching the proper way to cook pasta or barbecue chicken enough times, you start to pick up some good techniques. Combined with good recipes from chefs with decent talent, there's a lot to play around with. You're not going to learn a damn thing you can apply in the kitchen by watching jerks try and put together a cake in homage to The Smurphs or make-over a dirty, crappy restaurant.

Luckily, actual food fans have been thrown a small bone: Cooking Channel, which (for now) plays a legit amount of cooking shows. One of the chefs keeping the food instruction tradition alive is Anne Burrell, the wild-haired former sous chef of Mario Batali. A couple weeks ago she was putting together a one-dish dinner with Israeli couscous, veggies and chicken. I didn't make exact notes on the ingredients, but I watched her technique carefully. Cook the couscous to al dente, add extra stock in the baking dish, sear the chicken and nestle happily atop the pilaf. Bake covered. With these basics, I was able to reconstruct the recipe to suit my own tastes.

For the foundation of couscous I used Trader Joe's Harvest Grains blend. It contains five kinds of grains including the Israeli couscous, colored orzo, dried garbanzo beans and quinoa. The beans and quinoa are great because they add a little extra crunch and texture; Israeli couscous is very chewy. Alone it can be a bit cloying. I tossed the cooked couscous with roasted zucchini, sundried tomatoes and the always-wonderful combination of onions and garlic sweated in olive oil. Spread evenly along a baking dish, it's colorful enough to make your eyeballs grumble in hunger.

I seasoned the chicken with a vaguely Mediterranean mix of paprika, oregano and garlic salt. After placing the pieces atop the couscous, I let it cool and refrigerated overnight to bake in the morning. I didn't feel like worrying about dinner tonight, heading back to work after 10 days away at residency and all.

Dinner tonight was warm, comforting and effortless. To anyone else making this, I'd recommend a liberal squeeze of lemon over the whole thing (though ya'll should know why I can't do that). I don't know how it compared to Anne's dish, but she inspired something satisfying for me. That's the best thing about learning to cook--you can just cook without waiting around for the perfect recipe. And unless you're trying to concoct a meal out of melba toast, Taleggio cheese, Vienna sausages and Cheetos, it's a lesson Chopped can never teach.

Anne Burrell-esque Chicken and Couscous Bake
1 package of Trader Joe's Harvest Grains Blend, cooked with chicken broth
1/3 cup sundried tomatoes, diced
1 large zucchini, cooked and sliced
1/2 onion and 4 garlic cloves, cooked in olive oil until transluscent
1 1/2 tsp Penzey's Mural of Flavor spice
Salt and pepper to taste
8 pieces chicken (legs and thighs), skins removed (if you're trying to be healthy, at least).
Olive oil
1 tsp sweet paprika
1 tsp oregano
1/2 tsp garlic salt

Toss cooked couscous, sundried tomatoes, zucchini, onion, garlic and Mural of Flavor together. Spread evenly along the bottom of a baking dish. Add about 1/2 cup of additional chicken broth to keep the couscous moist throughout the cooking process.

In a large mixing bowl, toss chicken, paprika, oregano and garlic salt with 1-2 tbsp olive oil. Mix until well-coated. Heat an additional 1-2 tsp of olive oil on a grill or frying pan over medium-high heat. Add chicken and sear until crispy on all sides. Top couscous in dish with chicken, and cover the dish tightly in foil. Bake at 350 for one hour, until chicken is cooked through. Can be refrigerated and cooked the next day.

Sunday, January 1, 2012

New Year(k) Cheesecake

Festive desserts. Dessert in itself implies fanfare. Maybe I'm a minority, but I don't eat treats after dinner on a regular basis. I don't have much of a sweet tooth, and I'd rather have an extra dollop of sour cream on my tacos or whatever at dinnertime than ice cream afterwards. To create, tend and serve a dessert in our house means something fabulous is going on. Between Christmas and New Year's weekends this (I'm sorry, LAST) year, I made two different cheesecakes. For Christmas there was a Gingerbread Cheesecake that I had to make at my mom's house, since I didn't have a springform pan. I'd pinned the recipe on my Pinterest page back in October from Martha Stewart, and vowed to recreate it in all its holiday whimsy. The thought of not being able to make a recipe for lack of equipment, however, totally freaked me out. How can I possibly be missing anything?! I have more cooking supplies than shoes. But guess what was under the tree for me! A springformy pan of my very own from my little sister. Cheesecake possibilities of my very own!

New Year's Eve Matt's parents were coming over for late-Christmas, and I decided to test out my new pan on a classic New York cheesecake. I've been apprehensive to make cheesecake after having one fail to set a few years ago. Huge waste of ingredients (you need a cartload of cream cheese, about half a dozen eggs, plus whatever delicious goodies you use to make the crust, mix-in marblings and what have you). But the gingerbread cake turned out well, which was a promising sign. The springform pan detaches, allowing you to simply slip the cake out and onto a pedestal. Very important for a fickle, delicate "cake" like this, which is basically a fancy custard.

The other vital piece of equipment is a big pan, like a Pyrex, which you can place the cake in and fill halfway with water. This helps to properly set the cake without overcooking it. My mom's pan fit perfectly into my biggest Pyrex, but my new pan is a smidge too big. I could have dug out the biggest pan I own, my All-Clad roaster, but I didn't feel like it. It's in the garage! And it's cold in there! And I have to move the lawn mower! Boo. So I decided to just go with it instead. And what happened? I got a crack. Just like this. Which is what the water helps you to avoid. Luckily I was going to be covering the top with cherries, but if you can avoid making unslightly cracks in the cake you look like way less of a hack than I did.

The recipe I used was from King Arthur Flour, which writes recipes like a friendly version of Alton Brown. They explain the rationale and science behind the steps you're taking without berating or belittling you. Plus they don't ask you to make a multi-tiered smoker out of disposable pie pans and wooden skewers. The whole "wait until the cake is still jiggly and turn off the oven, then crack the door and let it set" deal fully freaked me out, but despite my intense fears it worked. I still would have stuck it in the water bath, though, were I (or when I was) to do it again.

But hey, once you top it with the lovely, delicious fruit of your fancy, you have a giant platter of cheesecake. And I don't think anyone is going to complain about life too much around that. Here is the link to the King Arthur Flour recipe, and here's to many delicious returns as Eats of Eden enters its second year of tasty chronicles.

Monday, December 26, 2011

Food Resolutions

I find it disheartening to see the series of post-Christmas commercials that begin running on Boxing Day. "The holiday we've been harping on you about since a week before Halloween is over! Come by and stock up on marked-off crap, and be sure to get some Special K and a Bowflex. Because you've gotten super fat lately--time for a new year's resolution!"

Kicking yourself into a change because of the calendar, fueled by pressure and negativity, doesn't seem like a fantastic way to stick with well-intentioned goals. I prefer ringing in the new year with positive, fun goals--and saving the tough stuff for later. To give 2012 a big hug, I'm resolving to make 12 new recipes--one for each upcoming month--that I've never tried before. And, for extra fun and accountability, I'll blog about each adventure. It's like Julie & Julia, except without the insanity and slightly more manageable between the thesis, graduation, losing the last ten pounds, and whatever else this fresh new year has in store.

1. Alton Brown's Roast Duck
I watched the Good Eats episode where Alton Brown made this roast duck, based on the traditional holiday roast goose that Dickens loved so dearly. Although you have to plan ahead and prep a few days ahead of time, this looks easy enough to be successful and decadent. Already planning a wonderful orange balsamic vinegar sauce to make it my own.
http://www.foodnetwork.com/recipes/alton-brown/roast-duck-with-oyster-dressing-recipe/index.html

2. Moussaka
I've wanted to make moussaka all year long, but it just never happened. This year, I want to make a point of bringing this hearty, cheese-clouded vision into reality in our kitchen.


http://www.epicurious.com/recipes/food/views/Lamb-and-Eggplant-Moussaka-352510


3. Cassoulet
In the same warm, rich, comforting vein as moussaka, I'd like to try this classic French dish. The ingredient list is long, the cooking time is epic, but with a reputation like cassoulet's, the results should eclipse the labor.

http://www.foodandwine.com/recipes/toulouse-style-cassoulet


4. Chocolate Souffle
Well, since there's no international trips on the foreseeable horizon, my only option is bring some Provence into my own world. I've never made any souffles, but I feel ready. I could do a savory souffle, but there's something about accomplishing a new feat in the world of desserts and baking that eclipses everything else. The science is so sensitive, especially with a finicky riser like this. If it doesn't work out, I suppose I have concrete evidence to support a more evenly-baking gas range upgrade.

http://www.epicurious.com/recipes/food/views/Chocolate-Souffle-106173


5. Beef Cheeks
I was lucky enough to try beef cheeks at BEAST two summers ago. I had no idea what to expect, but when I tasted that molten-tender entree, I practically melted. With all of the butchery options in Portland, I'm sure I can find the cut, and want to convert Matt--without maybe mentioning the odd body part right away.

http://www.epicurious.com/recipes/food/views/Braised-Beef-Cheeks-107803

6. Key Lime Pie
I've torn out several versions of key lime pie from Martha Stewart Food, Bon Appetit and whatever other magazines I get my hands on, but I've never gotten around to actually making it. I'm defaulting to King Arthur Flour's recipe, the baking authority that helped me bake the best Christmas cookies I've ever made this year. This is Matt's favorite dessert, so I'm thinking June for his birthday would be just perfect.

http://www.kingarthurflour.com/recipes/key-lime-pie-recipe


7. Tamales
I never even had a tamale until just a year or so ago! The best I've tried were made by mothers of people I worked with, with recipes I'm sure I'll never have a glimpse of. Nevertheless, it's worth a try. And try I will! This recipe looks family-loved, delicious and well-written.

http://www.pbs.org/food/recipes/pork-tamales/

8. Rack of Lamb
I love lamb. Along with duck, it's the dish I always look for any time we go to some fantastic, perfectly pretentious restaurant (note to self: many fantastic, perfectly pretentious Portland restaurants to try in 2012!). I was going to make it for Easter a few years ago, before finding out that certain family members refuse to eat it. Shame for them, but more for me! No more waiting for the "right" crowd to come by for a meal. This year, I'm cooking for myself.

http://www.foodnetwork.com/recipes/saras-secrets/herb-marinated-rack-of-lamb-recipe/index.html

9. Julia Child's Roasted Chicken and Tarragon
I don't have Mastering the Art of French Cooking, which seems awful when I type it out. Maybe I should snatch it up before any more time goes by. Either way, this chicken recipe looks incredible, and with the fresh tarragon that grows in my backyard in the summer, I've already got one of the title ingredients easily taken care of.

http://www.lhj.com/recipes/easy/chicken/meryl-streeps-amy-adams-julia-child-recipes/?page=2

10. Pad Thai
Wait, you may say. You've already made Pad Thai! Yes, I have. And I've failed miserably every. Single. Time. This is the year I make a dish that actually tastes kind of like what I love to order at Thai restaurants, not just Asian-ish noodles that I choke down and swear aren't that bad. I found this very informative write-up on how to make this possible, and I'm working up my nerve to try again. Maybe a little later in the year, after a few of these turn into successes. I'm still feeling a little burned.

http://chezpim.com/cook/pad_thai_for_beginners

11. Country Captain
The name is so funny, how can you not want to try this? This is a traditional southern dish, with some definite Indian flavors, along with our all-time favorite--ham! Also a plus? Country Captain is a one-pot dish, one of my favorite ways to serve dinner. Just top rice and serve.

http://www.foodnetwork.com/recipes/lee-bros-country-captain-recipe/index.html


12. Baked Alaska
Happy 2013! I will say when this glorious dessert is aflame. I've had it once, the night I graduated high school at a fancy restaurant in Tacoma. Festive and vintage, if I'm anything like the girl that's typing right now, this will be the perfect end to a delicious year.

http://www.marthastewart.com/340209/baked-alaska